
There's a crispness in the air and the woods are thick with the smell of golden days.... fall days. Living in northern Minnesota we experience seasons. I mean S-E-A-S-O-N-S. Its not unheard of to think you have lived them all in one day. Waking up in the feels like winter!morning to below *32F and feeling the glass like crunch of the heavily frosted grass under foot and just one hour later brings April November showers that are quickly here and quickly gone. Its nothing to leave the house with a winter coat and by mid day be barefoot in what seems like the summer sun.
And then there's this:

Colors I cant quite capture, a feeling I cant quite explain.

These are days we in the northland try desperately to hold onto. As the colors get brighter and brighter and as each leaf falls to the ground we gird ourselves a just a lil more for the winter to come. There's frantic harvesting and copious canning, wood stacking and fall cleaning. A sense of "putting" up the larder and battening down the hatches before old man winter decides he's moving in for an extended visit. Last year he hung out at our place for a full 7 months of snow and at times the wind chill that came bearing down across the lake was at a blustery *-50F. One week in March alone brought us nearly 30 inches of the white stuff. So in this season we quicken the pace and get ready to combat cabin fever....
But not today. Today we play.....


and we discover....

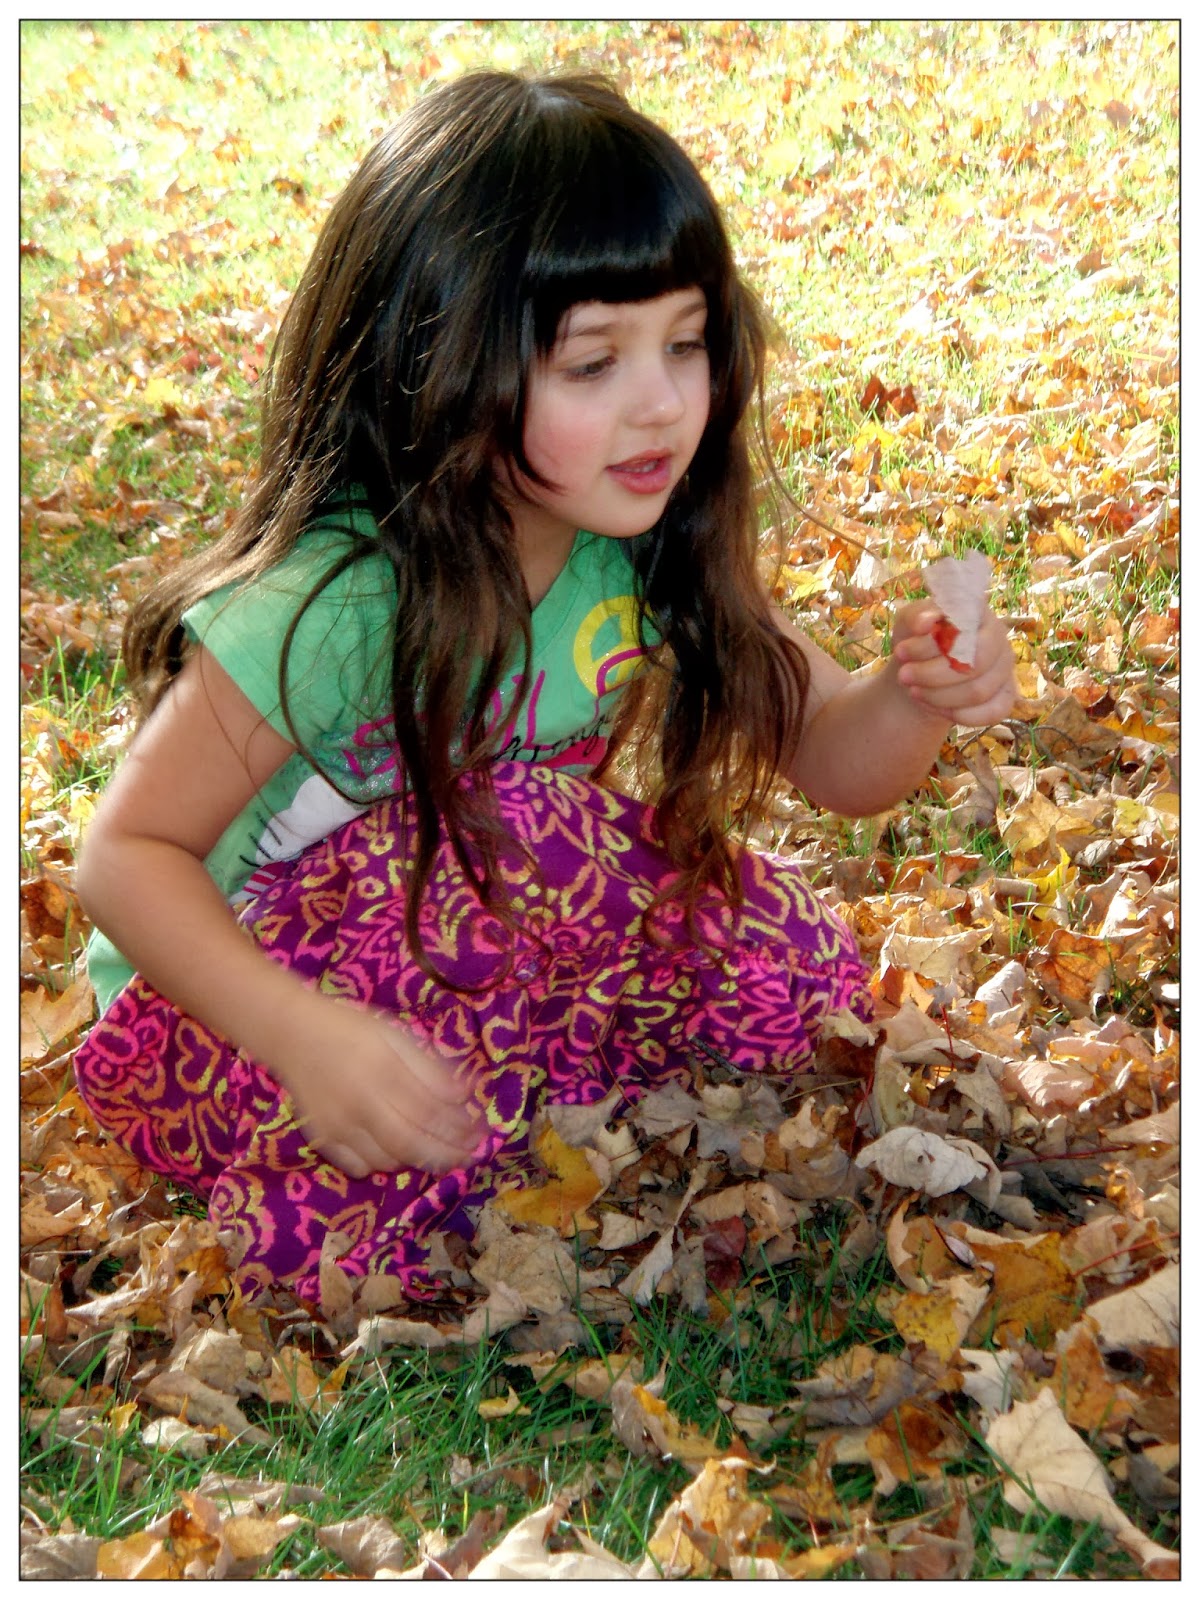
and appreciate.

and sit in the sun and create....

and spend time walking in the fading afternoon light through golden leaves.

Easy Peasy Boot Cuffs
Materials: Any worsted weight yarn
I hook
*stitch marker, a length of yarn or just wing it ;)
2 buttons of your choice
yarn needle for weaving in ends
scissors
needle and thread for sewing on buttons
Leave long 18 inch tail for sewing cuff
Row 1: ch 11
Row 2: sc in each st across
Row 3: ch 1 and turn. sc ch in back loops only across (10 sc)
Repeat row 3 for 43 more rows (46 rows total of rib stitch)
Joining the cuff:
Measure the cuff to mark how much over lap you would like for your faux flap or simply mark with st marker, yarn or eye 6 rib rows in (of course adjust if 6 is too small or big)
sc in each end of rib (NOT turning work to back side but instead working across and down the top length of the previously crocheted rib) following instructions of round 1
Round 1: ch 1 turn. sc in each st to your marker (aprox 6 rib rows from end) yarn over as if to sc in next st but instead go through marked st and current st together joining the cuff in the round...continue sc through BOTH parts of the cuff until you are at the beginning of the round. Mark with st marker, yarn or simply eyeball :)
Round 2: Hdc decrease over next 2 st, hdc in next 4, repeat until end of round
Round 3-6: Hdc in each st in round
Round 7: Sc in each st in round, fasten off, weave in ends
At the cuff, fold over faux opening half way down and use long tail to secure upper edge of cuff together at the top and the fold flap down. Continue to stitch down the cuff so there are no gaps, fasten off weave in ends. Sew on two buttons; one on the open faux flap, and the other directly below it.
Slide your ultra-easy-peasy-super-duper-made-by-you-who-rocks boot covers over your bare leg, or your pant leg, tuck your cuff into your favorite boots and enjoy <3
It made me feel like I could smell fall and the rustling of leaves wanting to float to their final resting place all the while watching the innocence of lily dancing around like she was a princess in a snow globe
ReplyDeleteBabydoll I can't reach you! Message me? Where did you run off to?
ReplyDeleteHoneyb I missss u :( where u b yo??? <\3
DeleteI am really confused on the joining of the cuff . Where you make the flap, can you explain it to me better.
ReplyDeleteHi. Did you ever get a response or figure out how to join the cuff on this pattern? I started it and can't figure it out either.
DeleteI'm having trouble joining the cuff too, would love some more details or pictures. I think the cuffs are super cute! Can't wait to get it figured out! Thanks for the pattern :)
ReplyDeleteHi. Did you ever get a response or figure out how to join the cuff on this pattern? I started it and can't figure it out either.
DeleteI have made 2 pairs so far and had some trouble too! I sc down the end piece; across the top, then down the other end. at this point just overlap the two ends of the ribbed section enough to have a fold back where the buttons go and sc (through the overlapped section) & all the way around. Chain 2. Now start the instruction for the section that will go inside your boot. Next row join to the chain 2 and continue the rows to the desired length. This made the rows straight instead of sloping uphill. They really do turn out cute.
ReplyDeleteCan't get the joining of the cuff to come out right.???? Help
ReplyDeletewow, I've read the pattern I don't know how many times and still can't figure out the cuff. Can someone explain it differently? Where does the 'band' in between the buttons come from?
ReplyDeleteThere is a lot of information in your article. The information provided was of a high standard. Please continue to give us such good information. I just published a related article Click Speed Test – Check Clicks Per Second. See my latest article Click Test / Click Speed Test. If you want to know how to rate your clicks, write a title for that and read this article. Please visit my article and let me know what you think.
ReplyDelete